

Practical and decorative object of everyday life, the suction cup hook has become almost indispensable in our homes. Let’s admit that it often saves our lives: it allows us to hang our paintings on the walls of the living room as well as our bathrobes on the bathroom door. Thanks to the suction cup, there is no longer any need to drill our equipment or have unsightly holes in our materials. Simply attach the hooks to smooth surfaces, such as glass or tiles, and then we can afford to adorn our spaces as we wish. And, the big advantage of this ingenious hanging system is that the suction cup is movable, so you can install it anywhere at home!
The problem: While we love the versatility and functionality of these accessories, they never last long on the wall! Especially if they must contain quite heavy elements. After a while, they end up weakening and falling apart on their own.
Are your suction cups torturing you because they don’t always stay in place? No need to worry about your hooks anymore: so that they don’t fall out unexpectedly, we have the solution for you!
Here are simple and effective tips to stop suction cups from falling off your shower walls or sliding on your mirror once and for all. Follow these steps to ensure that they are well glued and very strong.
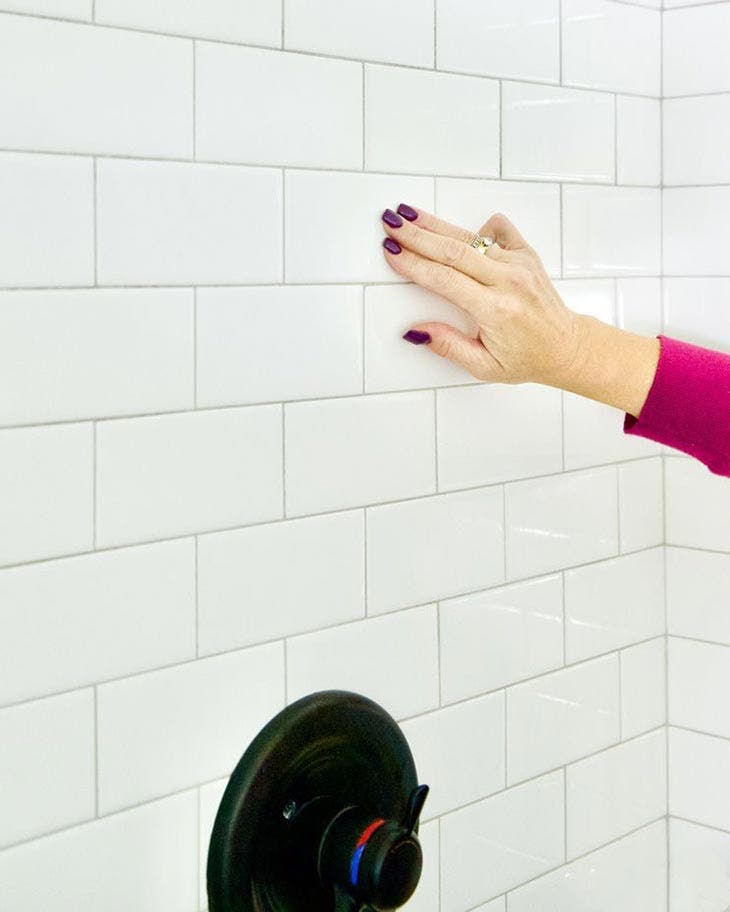

Surface – Source: spm
1. Choose an appropriate surface
The ideal surface for applying a suction cup must be clean, flat and perfectly smooth. Even the strongest suction cups do not adhere for long to porous surfaces, because it is impossible to obtain a fixation free of air pockets.
That said, there are several types of surfaces the suction cups can stick to, including glass, hard plastic, acrylic, formica, and stainless steel. You can easily attach suction cups to windows, mirrors or the front of your dishwasher. On the other hand, avoid using suction cups on curved or textured surfaces, such as the dashboard of your car, as it will be very difficult to achieve a lasting bond.
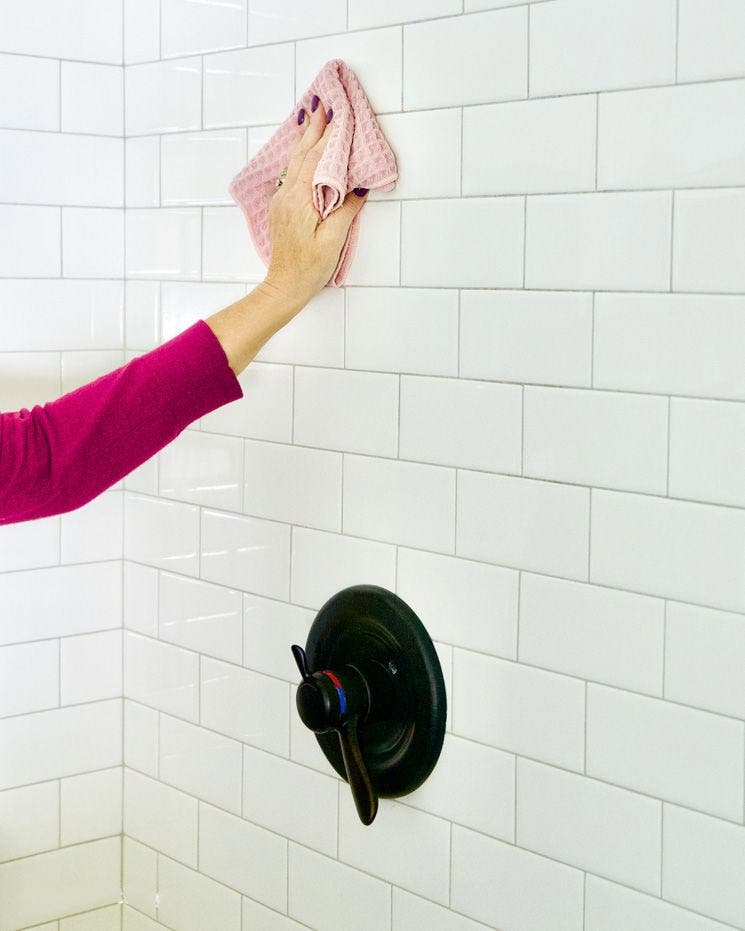
Clean surface – Source: spm
2. Clean the surface
Before attempting to install a suction cup, it is important to ensure that the surface you are applying it to is perfectly clean. Scrub the entire chosen surface with your usual household cleaner, then rinse and dry it thoroughly with a lint-free cloth. This cleaning will remove any dirt or debris that may interfere with proper adhesion.
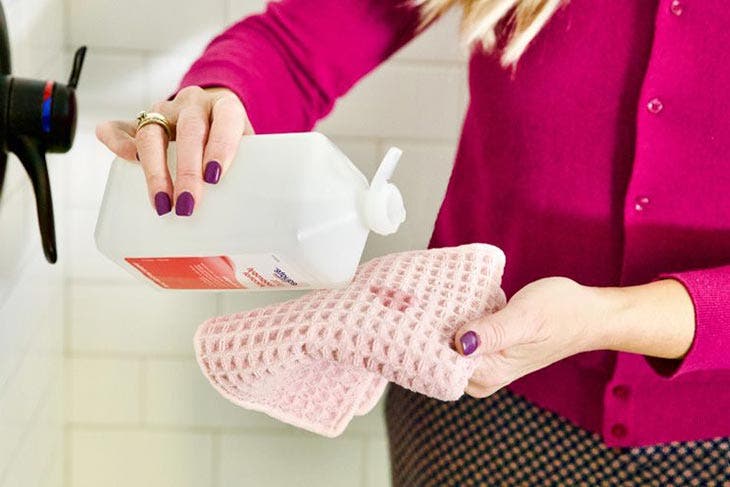
Wipe surface – Source: spm
3. Wipe the surface with alcohol!
Once the surface is thoroughly cleaned and clean, you should wipe it again with rubbing alcohol. Why this double cleansing? Because if this alcohol is not an excellent cleaning product in itself, it is perfect for removing the last traces of dirt before you can stick your suction cup in the best conditions.
NB: Rubbing alcohol is also the best way to prep a surface before hanging hooks or the like. First clean the surface as usual, then wipe it with rubbing alcohol before applying the adhesive to achieve a lasting bond.
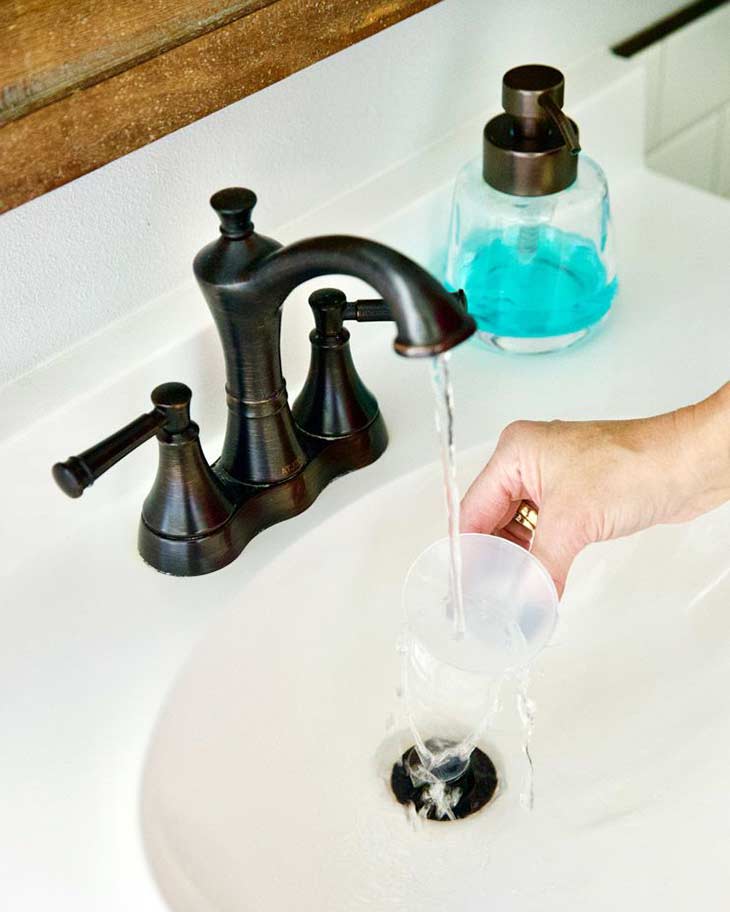
Clean suction cup – Source: spm
4. Clean the suction cup itself
In addition to cleaning the surface on which you want to attach it, it is necessary that the suction cup is clean and free of any dust. Rinse it with lukewarm water, emphasizing the inside of the suction cup, then shake it to remove excess water. (Don’t overdry it either: water droplets inside the suction cup can prevent air pockets from forming inside the seal).
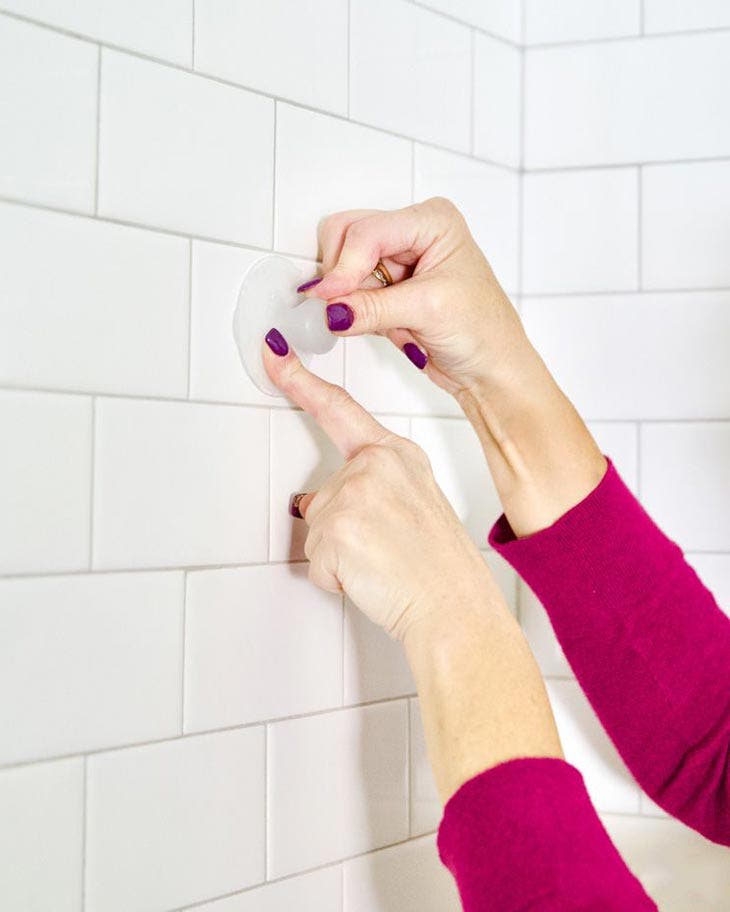
Attach suction cup – Source: spm
5. Press firmly
Finally, it’s time to attach the suction cup! Press it firmly against the glass, wall or tile where you want to install it and stick it well, making sure that there are no air bubbles between the suction cup and the surface.
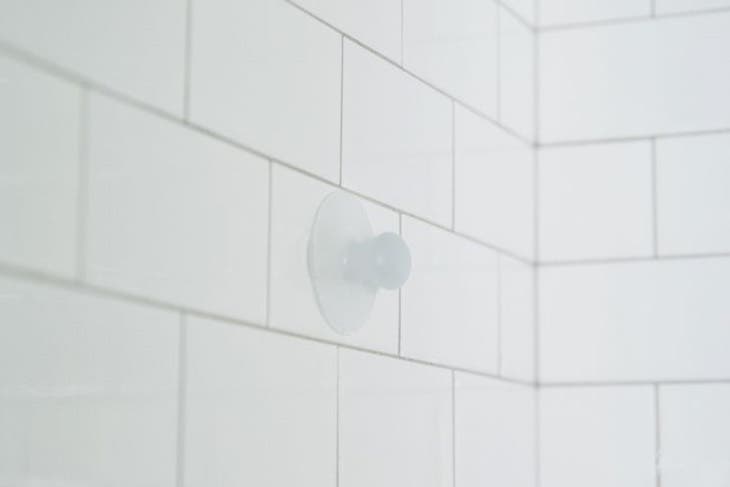
Suction cup on wall – Source: spm
6. Let stand
After attaching the suction cup, allow it to sit for 24 hours to give the bond time to “set”. This means don’t put extra weight on the suction cup or the object it’s attached to, and do your best to avoid wetting the area.
By letting it rest for a whole day, you ensure that the small amount of water inside the suction cup has dried and that the bonding system is perfectly complete.
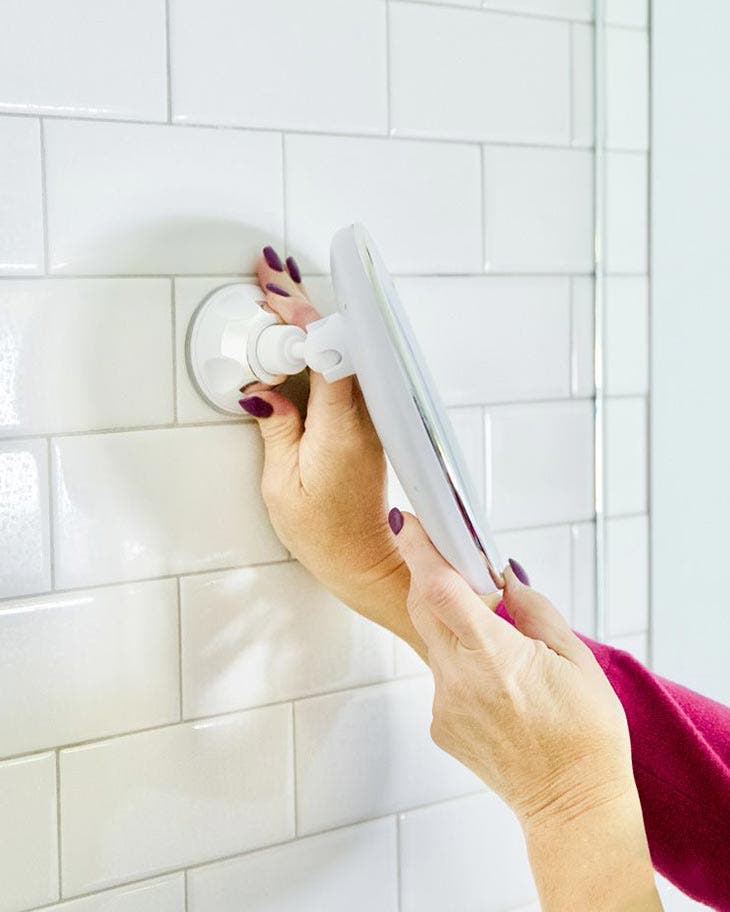
Check sucker – Source: spm
7. Check the binding
Once your suction cup is glued, be sure to check the attachment from time to time. Occasionally press down on the suction cup to remove any air pockets that may have formed.
Remember that changes in temperature and humidity ( common in bathrooms and kitchens) can affect the flexibility of the suction cup. This may cause air pockets to form or the suction cup to detach from the surface.
From now on, you no longer need to buy new ones, the suction cups you already have will do the trick perfectly. All you have to do is carefully follow the steps that you have just presented to yourself!


