

The orchid is a perennial flowering plant with evergreen foliage. This tropical plant likes heat and humidity. It can be grown in pots, as a houseplant, or in planters. There are different varieties of orchids, but the best known is the Phalaenopsis, also called butterfly orchid. This plant is easy to care for, but it can wilt if not kept in the right conditions. Find out how to save your orchid in 5 steps.
To care for an orchid and keep it in good condition, you need to know its growing conditions. Sometimes, too much water, or insufficient watering can be fatal for your plant. Be aware, however, that it is possible to save your dying orchid.
How to save a dying orchid?
Step 1: Observe the orchid to determine the problem
To know how to care for your orchid, it is important to examine it well. This will help you recognize the reason for its wilting and determine if it is dying or just dormant. Indeed, if you notice that its leaves are falling, this does not mean that it is dead, but simply that it is entering a dormant period. If your orchid’s foliage is yellow , it means it has been affected by a disease. If on the other hand it is dark green, it means that your plant lacks light.
You will recognize a dying orchid by its leaves appearing dehydrated and its roots becoming limp, brown or even black. The main cause of a dying orchid is excess water, which leads to rotting of its roots. However, you can save your plant if it still has healthy aerial roots.
Step 2: clean the roots of the orchid
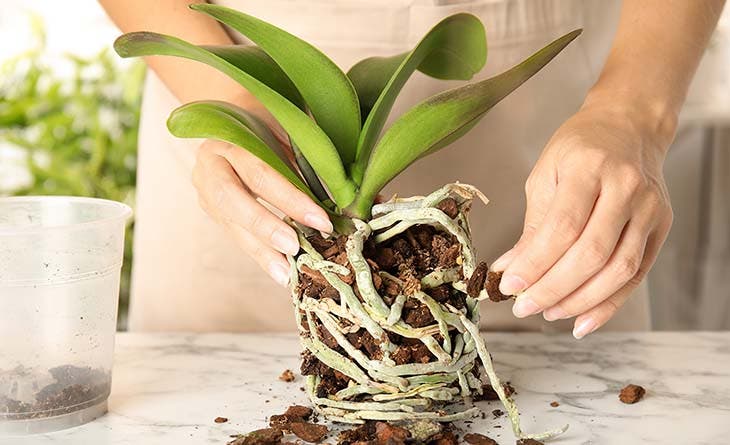

Removing soil from roots – Source: spm
To clean the roots of your plant, it is important to gently remove it from the pot. Then remove all the pieces of soil stuck to the roots. This can be the mulch, moss or bark used in the potting mix. Then rinse the roots with water to clean them of stuck-on debris.
Step 3: cut the dead orchid roots
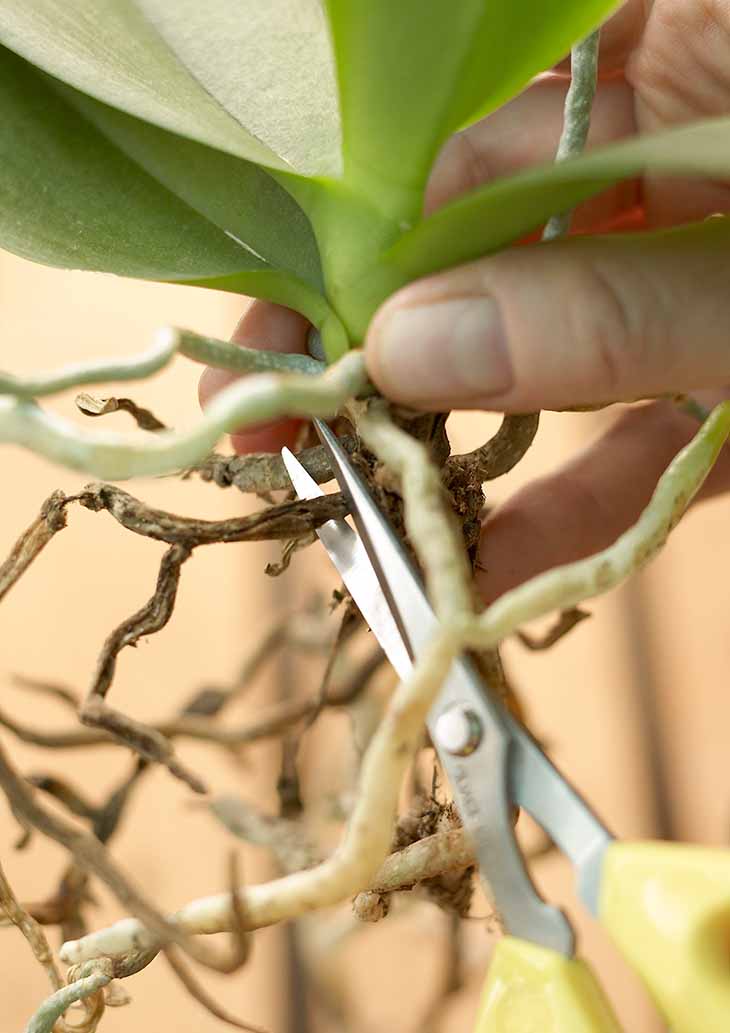
Cut dead roots – Source: spm
Using pruning shears or a disinfected pair of scissors, cut off any roots that look soft, mushy, brown or black. Keep only the roots that are green or have green tips. If the rot has also affected the stem, prune it just below the leaves , and remove the dehydrated or damaged leaves and petals.
Step 4: repot the orchid
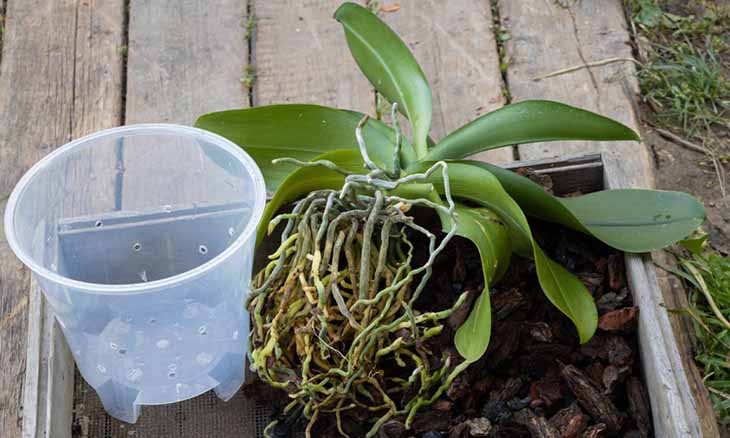
Plastic pot for repotting the orchid – Source: spm
Repotting will allow you to give your plant a new substrate and therefore a new supply of nutrients that will help your orchid bloom again. To do this, choose a transparent plastic pot, so that you can regularly check the condition of the roots. Regarding the soil, it is preferable that it be made up of pieces of bark, charcoal fibers, sphagnum, or even charcoal fibers. Also consider placing clay pebbles at the bottom of the pot to help with drainage. Be sure to lightly water the pot to moisten the soil.
Step 5: help the orchid grow again
To revive your orchid and help it bloom again. It is important to provide it with favorable conditions for its development. To do this, place your orchid in a bright place, while avoiding exposure to direct sunlight. This could indeed burn the foliage of your plant ; On the other hand, prefer an exposure to partial shade. Being not very hardy, the orchid also needs heat. Keep your pot in a temperature varying between 18°C and 21°C, away from drafts, but also from sources of heat, such as the radiator which dries the ambient air. Indeed, the orchid appreciates humidity. In addition, it is advisable to water the orchid with non-calcareous water, such as rainwater, and at room temperature , so as not to cause a thermal shock which would damage the root system of your plant. Also, mist your orchid’s foliage from time to time, and don’t leave standing water in the saucer or cachepot. Also be sure to protect your orchid from parasites or pests that ravage it, such as aphids or scale insects.
By following these steps, you will be able to save your dying orchid, and prepare it for a new bloom in order to decorate your home with its beautiful flowers.


