

Decoding Orchid Repotting: Recognizing the Signs
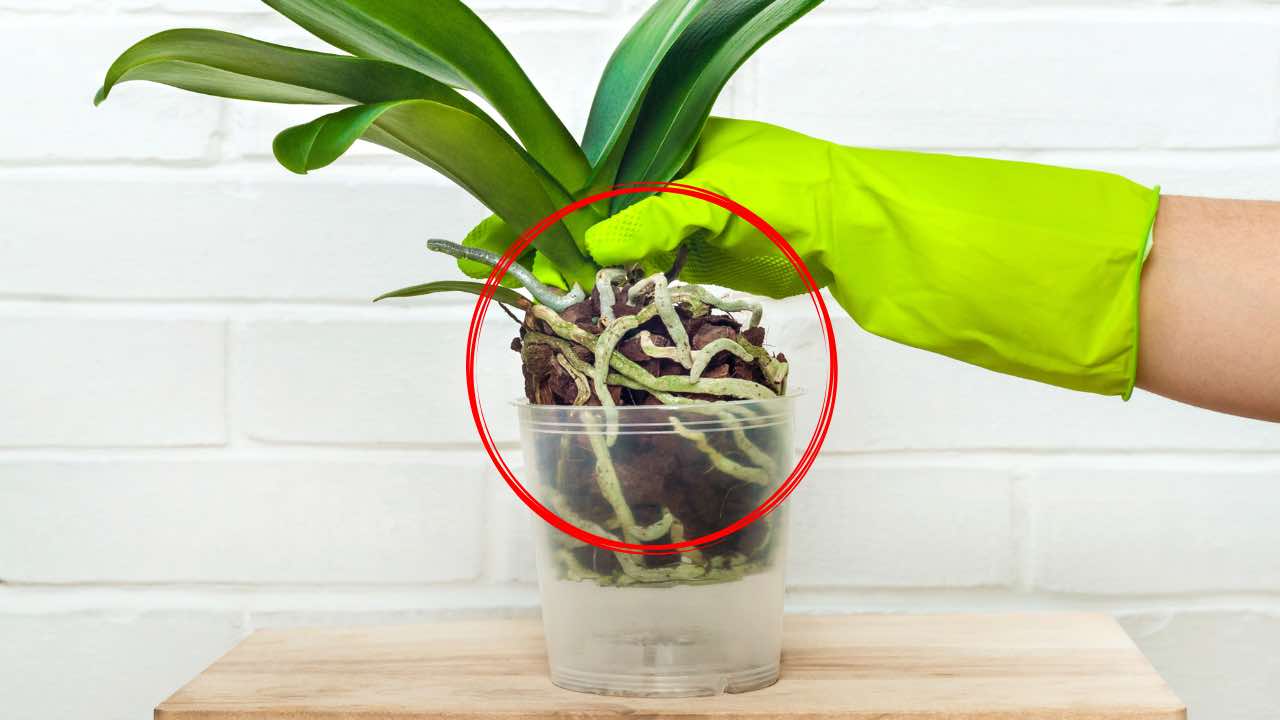
Have you ever wondered when it’s time to repot your orchids? Fret not, as there are three telltale signs that indicate when the moment has arrived. Let’s delve into these indicators, ensuring you can identify when to repot your magnificent orchids for optimal blooms!
The Orchid’s Repotting Frequency
Orchids, with their enchanting fragrance and delicate blossoms, grace apartments with their beauty. While they aren’t demanding to cultivate, understanding when to repot them is crucial for robust growth and vibrant flowering. Initially suited for smaller pots, orchids eventually outgrow them, necessitating more space for root development. Generally, experts recommend repotting every two to three years. However, paying attention to unmistakable signs is essential for timely intervention and continued orchid vitality.

Three Signs Signifying Orchid Repotting Time
To ensure your orchids flourish and bloom luxuriantly over time, identifying the opportune moment to repot is crucial, typically occurring every two to three years. Recognizing the following signs is vital, especially for non-experts, to prevent mistakes and potential harm to the plant.
1. The Pot is Overflowing with Roots:
- When roots protrude from the drainage holes, signaling the pot’s inadequacy for the plant’s size, it’s time for repotting.
2. Roots Exhibiting Mold:
- Mold in the roots, resulting from overly humid soil and potential water stagnation, serves as a warning to change the orchid’s pot promptly.
3. Yellow, Drooping Leaves:
- If leaves appear yellow and droopy, with stems drying out, it’s a clear signal that immediate repotting is essential.

Executing Orchid Repotting Correctly
Repotting orchids is a crucial procedure that demands careful execution to avoid root damage. Before commencing the repotting process, gather pieces of bark to create a root-friendly layer. Here’s a step-by-step guide:
- Gentle Extraction:
- Carefully extract the plant from its pot, ensuring minimal disturbance to the roots.
- Root Inspection:
- Free the roots from the soil, ensuring they remain intact and healthy. Trim any damaged parts with shears, eliminating yellowed leaves and dry stems.
- Soil Preparation:
- Prepare the soil to accommodate the orchid, adding pieces of bark for enhanced root support.
- Repotting Procedure:
- Fold the orchid’s roots downward and insert them into the new pot. Fill the gaps between the roots with soil, using your hands or a garden trowel.
- Final Touch:
- Complete the repotting operation by filling all empty spaces between the roots with soil and proceed with thorough watering. Maintain moisture for the plant in the subsequent three days.
By heeding these signs and executing the repotting process diligently, you can ensure the sustained health and flourishing beauty of your cherished orchids.


