

Grafting Roses: A DIY Guide to Introduce Variety
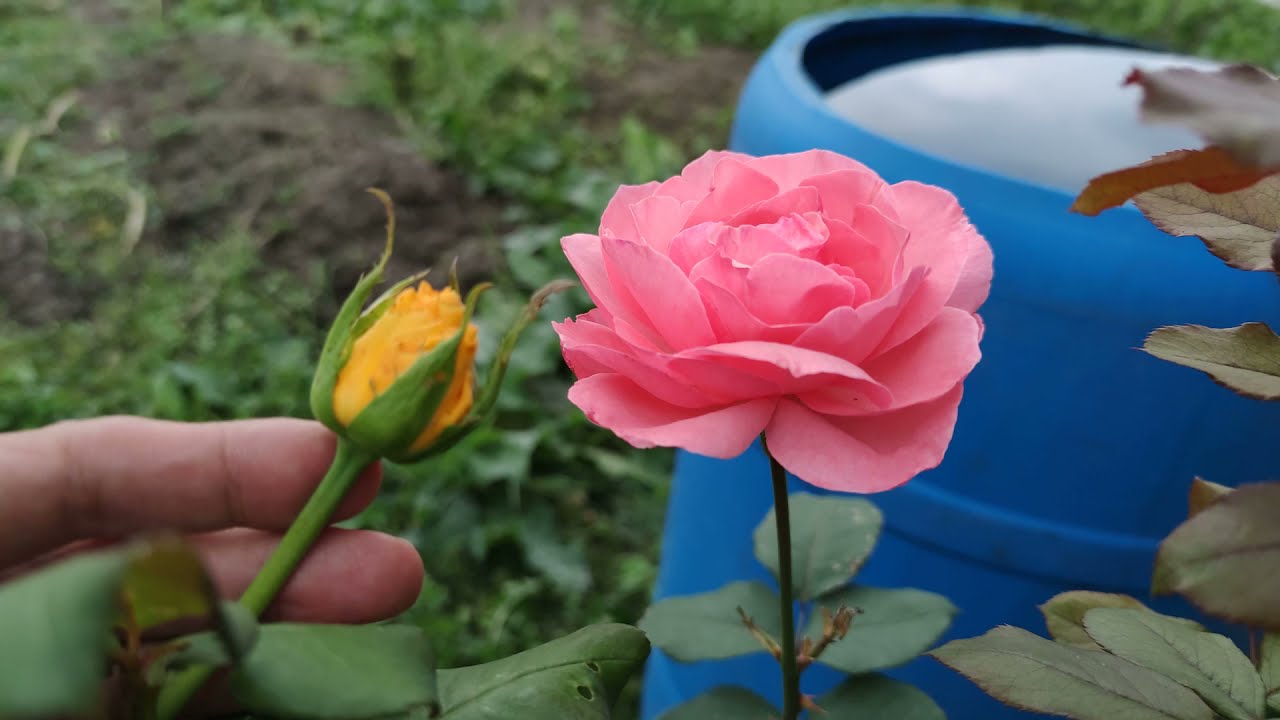
Grafting a rose might sound like a task reserved for professionals, but the truth is, anyone can master this art with a bit of guidance. While the process may seem intricate, following some fundamental steps and tips can make it an enjoyable and rewarding endeavor. Grafting roses opens up the possibility of witnessing the bloom of diverse flower varieties on a single plant—a natural creation that eliminates the need to purchase additional types or invest unnecessary time.
The Simplicity of Grafting:
Grafting a rose with other varieties is an accessible task, provided you adhere to the essential steps. While the results aren’t instantaneous, the sense of accomplishment is certainly worth it. The grafting process unites two plants of distinct varieties, giving rise to a singular and distinctive plant.
Choosing the right graft holder is pivotal for the success of the operation. Experienced nurserymen recommend selecting a rose hips with a multiflora rose, especially for beginners. Rosehip boasts robust roots, requiring minimal care and adapting to various soil conditions. The multiflora, with its superficial roots, complements this grafting process seamlessly.

Rootstock Preparation:
To obtain the rootstock, seeds from the chosen varieties are either buried or cultivated through cuttings. Begin by taking two branches, each approximately twenty centimeters in length, during winter. Plant these branches in summer to cultivate your seedling.
Curiosities and Tips:
Before initiating the grafting process, gather the necessary tools, including disinfected scissors and binding materials. Additionally, perform the operation only when the outside temperature reaches around 25 degrees.
Commence the process by cutting the chosen branch with precision, ensuring a perpendicular and non-sharp cut. Beforehand, remove leaves and thorns for better workability. Attach the severed part to the rootstock and proceed to bind it using raffia or a lightweight material, covering the earlier cut.
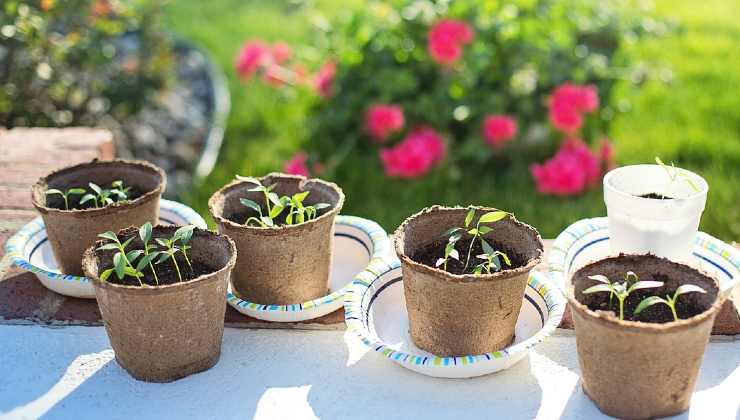
After a month, unveil the result by removing the binding material to assess the state of grafting. The subsequent crucial step occurs in February when the rootstock is cut precisely at the graft point. Come spring, observe the emergence of the first sprout, and once it reaches fifteen centimeters, trim it. Eliminate any wild shoots around the structure for optimal growth.
While the process is feasible, seeking advice from a professional nurseryman is always prudent, as not all roses may be suitable for this operation. Grafting roses opens up a realm of possibilities, transforming your gardening experience into a creative and rewarding venture.


